
Hello Friend’s
I want to share, with you all a beautiful binding technique. Called “Piped binding” or “Flange binding”
This technique, is a little time consuming but the end results, are worth it!
The first step is cutting, you will need to know how many strips or continuous inches, of binding to cut for your desired project.
You will need two different colors, of fabrics! One for the main background color and one fabric for your accent flange.
First cut your main background, strips at
(1 1/2″) inches then cut your Accent flange, fabrics at (1 3/4″) inches. Join the main background and Accent strips, in to one continuous strip set, with a 45 degree angle to join the strips, then iron the joining seams.
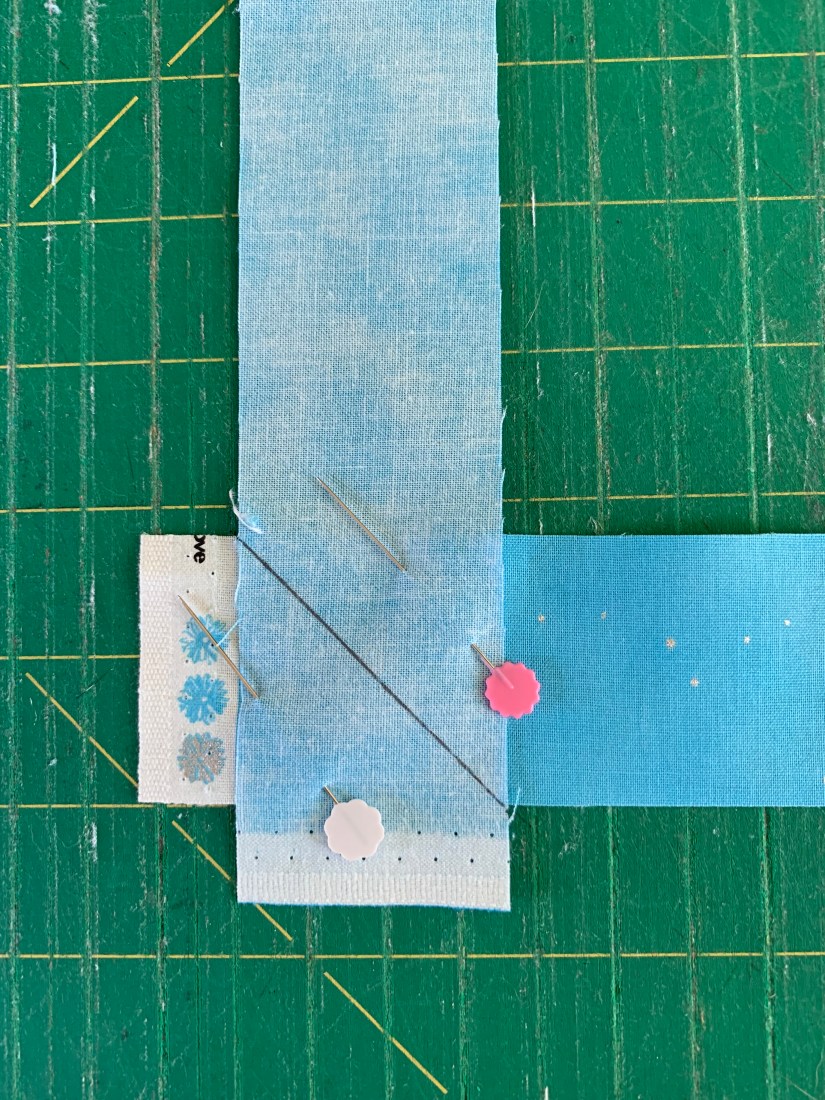
The Second step is to sew your strips together as pictured below. Please note a 1/4 seam is necessary to achieve the perfect flange.

Once you have sewn both the (1 1/2″ strip 1 3/4″) together press the seams open as pictured below.

This time consuming step, with help you achieve a nice accent flange.
When you fold over your strip, for example I put the white side, of the fabric towards the ironing surface and the blue fabric towards me. See picture below.

Then carefully, iron the strip in half with the raw edges lined up as shown.
When your strip set has been ironed in half, then prepare to roll your binding. In to a nestled roll. When rolling, make sure your rolling your binding so it’s the way you attach it to the quilt!

When attaching your binding, make sure your accent color, is facing up towards you like pictured above, in the blue.
You can either hand sew your binding, in place or use a sewing machine. I sewed my binding on by machine.
When attaching the binding by machine, it’s helpful to sew right next to the blue piping or flange for a finished look.

The finished results are beautiful! I hope this little picture tutorial, helps you bind something beautiful!

If you have any questions, please feel free to contact me via email at. Jenntquilting@Outlook.com
Until next time have a “Sew Happy Day”
Jenn.